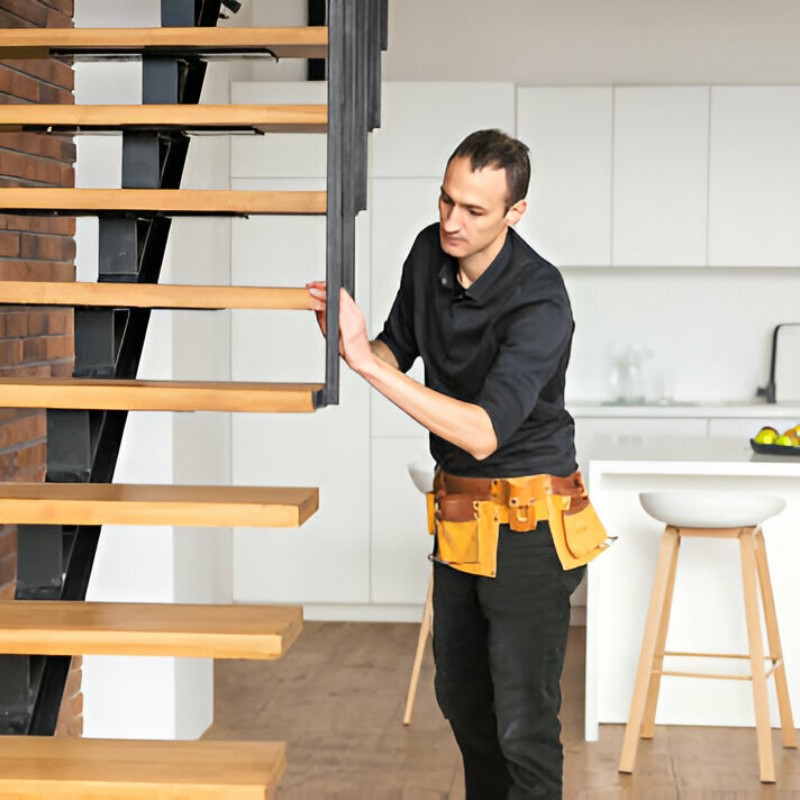
How to Space Your Iron Balusters: A Comprehensive Guide
Iron balusters are a popular choice for adding elegance and style to staircases. Whether you are considering a DIY project or hiring a professional, spacing your iron balusters correctly is crucial for achieving a visually pleasing result. In this article, we will provide you with a step-by-step guide on how to space your iron balusters effectively.
1. Understanding the Basics of Iron Balusters
Before diving into the spacing techniques, it is important to understand the basics of iron balusters. These decorative elements consist of two main parts: the baluster itself and the shoe. The baluster is the vertical post, while the shoe is the piece that connects the baluster to the staircase. Knowing these terms will help you better understand the rest of the article.
2. Measuring the Total Length of the Staircase
The first step in spacing your iron balusters is to measure the total length of the staircase. Use a tape measure to determine the distance from the first step to the last step, including any landings or turns. This measurement will help you determine the number of balusters needed and the spacing between them.
3. Determining the Number of Balusters
Next, you need to determine the number of balusters required for your staircase. The general rule of thumb is to place a baluster every 4 to 6 inches, but this can vary depending on personal preference and local building codes. Divide the total length of the staircase by the desired spacing to calculate the approximate number of balusters needed.
4. Marking the Baluster Locations
Once you have determined the number of balusters, it's time to mark their locations on the staircase. Start by measuring the desired distance from the starting point and make a small mark. Repeat this process for each baluster, ensuring consistent spacing throughout.
5. Preparing the Balusters
Before installing the balusters, it's important to prepare them properly. If your balusters have shoes, attach them securely using the manufacturer's instructions. If they don't have shoes, you may need to drill holes in the staircase to insert the balusters.
6. Installing the First Baluster
Begin the installation process by placing the first baluster in its designated location. Make sure it is plumb and level using a level. Once it is properly aligned, secure it in place using adhesive or screws, depending on the type of installation method recommended by the manufacturer.
7. Spacing the Remaining Balusters
With the first baluster in place, you can now start spacing the remaining balusters. Use a spacer tool or a scrap piece of wood to maintain consistent spacing between each baluster. This will ensure a uniform and visually appealing result. Repeat the process until all balusters are installed.
8. Checking for Stability
After installing all the balusters, it's important to check for stability. Give each baluster a gentle shake to ensure they are securely fastened. Make any necessary adjustments or reinforcements to ensure the balusters are safe and stable.
9. Finishing Touches
Once you are satisfied with the placement and stability of the balusters, you can proceed with any finishing touches. This may include painting or staining the balusters to match the overall aesthetic of the staircase. Follow the manufacturer's recommendations for the best results.
10. Regular Maintenance
Lastly, to keep your iron balusters looking their best, it's important to perform regular maintenance. Clean them regularly using a mild soap and water solution, and inspect them for any signs of damage or wear. Address any issues promptly to ensure the longevity and beauty of your iron balusters.

