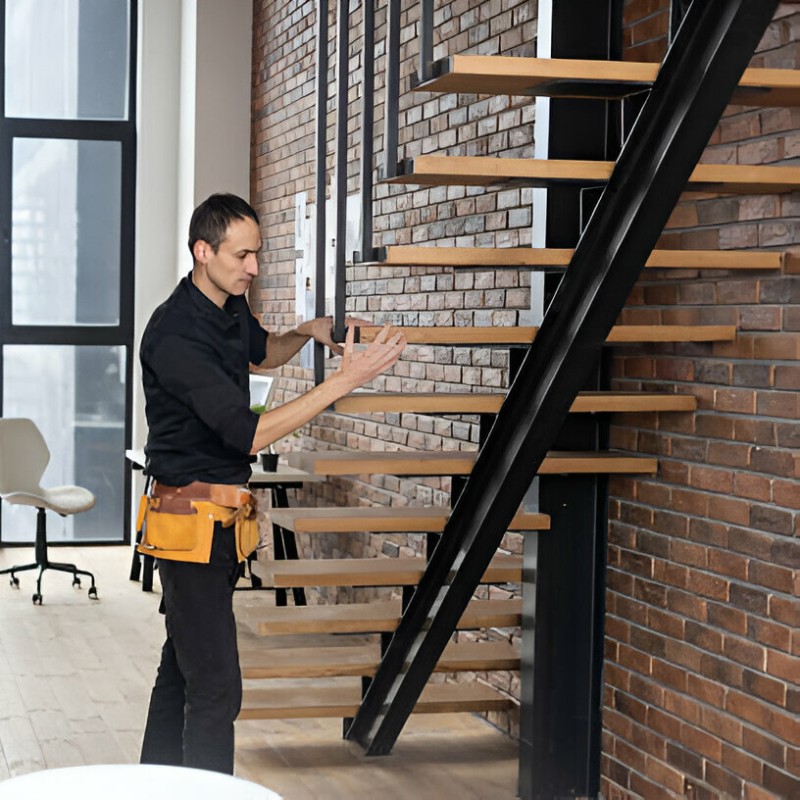
Introduction
Iron balusters add elegance and charm to any staircase, but over time they can become worn out or outdated. If you're looking to give your staircase a fresh new look, replacing the iron balusters is a great way to achieve that. In this article, we will provide you with a step-by-step guide on how to replace iron balusters, so you can transform your staircase into a stunning focal point of your home.
Gather the Necessary Tools and Materials
Before you start the process of replacing your iron balusters, it's important to gather all the necessary tools and materials. You will need:
- Hammer
- Chisel
- Tape Measure
- Hacksaw
- Drill
- Screwdriver
- New iron balusters
- Mounting brackets
- Epoxy adhesive
Remove the Old Balusters
The first step in the process is to remove the old iron balusters. Start by carefully removing any decorative caps or finials from the top of the balusters. Then, use a chisel and hammer to loosen the balusters from the staircase. Once they are loose, gently pull them out, making sure not to damage the surrounding wood.
Measure and Cut the New Balusters
Next, measure the height of your staircase railing to determine the length of the new balusters. Use a tape measure to get an accurate measurement, and then mark the length on the new balusters. Using a hacksaw, carefully cut the new balusters to the desired length.
Prepare the Mounting Brackets
Now it's time to prepare the mounting brackets. These brackets will hold the new balusters in place. Start by measuring the width of the balusters and mark the corresponding positions on the handrail and the bottom rail. Use a drill to make holes at these marked positions. Then, attach the mounting brackets to the handrail and bottom rail using screws.
Attach the New Balusters
Once the mounting brackets are in place, it's time to attach the new balusters. Apply epoxy adhesive to the bottom of each baluster and insert them into the holes on the bottom rail. Make sure they are securely in place. Then, apply epoxy adhesive to the top of each baluster and insert them into the holes on the handrail. Allow the adhesive to dry completely before moving on to the next step.
Secure the Balusters
To ensure the balusters are securely in place, use a screwdriver to tighten the screws on the mounting brackets. This will provide additional support and stability to the balusters.
Replace Decorative Caps or Finials
Once the balusters are securely installed, you can replace any decorative caps or finials that were removed earlier. Simply place them on top of the new balusters and ensure they are properly aligned.
Finishing Touches
After completing the installation of the new balusters, take a step back and admire your beautiful staircase. You may choose to paint or stain the balusters to match your existing staircase or leave them as they are for a more contemporary look.
Maintenance Tips
To keep your new iron balusters in pristine condition, it's important to regularly dust and clean them. Use a soft cloth or duster to remove any dust or debris. Avoid using abrasive cleaners or harsh chemicals that can damage the finish of the balusters.

