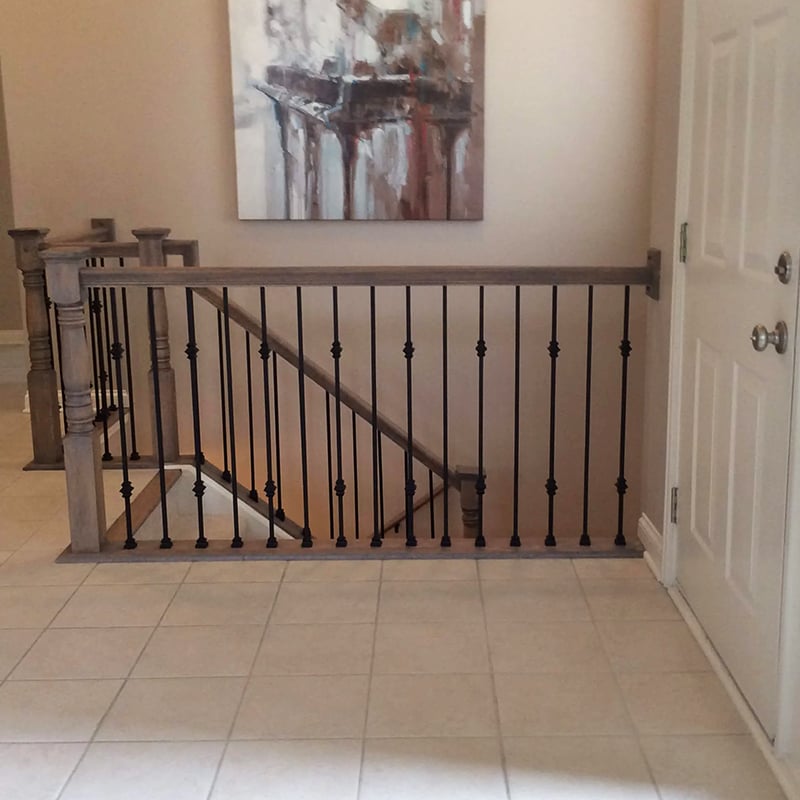
The Ultimate Guide on How to install metal balusters on stairs
Are you looking to add an elegant touch to your staircase? Metal balusters can be a stunning addition that will transform the look of your stairs. In this comprehensive guide, we will walk you through the step-by-step process of installing metal balusters on stairs. Whether you are a seasoned DIY enthusiast or a beginner, this article will provide you with all the information you need to successfully complete this project.
1. Materials and Tools You Will Need
Before you begin the installation process, it is important to gather all the necessary materials and tools. Here is a list of items you will need:
- Metal balusters
- Handrail
- Drill
- Drill bits
- Measuring tape
- Pencil
- Level
- Hacksaw
- Wood glue
- Screws
- Screwdriver
- Paint or stain (optional)
Make sure you have all these items on hand before you start the installation process.
2. Planning and Measuring
Before installing metal balusters, it is crucial to plan and measure the layout of your staircase. Start by determining the number of balusters you will need. As a general rule, you should aim for one baluster every 4 inches. Measure the total length of your handrail and divide it by 4 to calculate the number of balusters required.
Next, mark the positions for the balusters on the handrail and the stairs using a pencil. Ensure that the markings are evenly spaced and aligned. Use a level to make sure the markings are straight.
3. Removing Existing Balusters (If Applicable)
If you already have balusters on your staircase, you will need to remove them before installing the metal ones. Use a screwdriver to remove any screws holding the balusters in place. Once the screws are removed, gently pull out the balusters from the handrail and the stairs.
4. Cutting the Metal Balusters
Measure the height of your handrail and subtract the thickness of the floor covering to determine the ideal length for your metal balusters. Use a hacksaw to cut the balusters to the desired length. Make sure to wear protective gloves and goggles while cutting the metal.
5. Preparing the Baluster Holes
Using a drill and the appropriate drill bit, create holes in the handrail and the stairs for the balusters. The size of the drill bit should match the diameter of the balusters. It is recommended to drill pilot holes first to prevent splitting the wood.
6. Installing the Balusters
Apply wood glue to the bottom of each baluster and insert them into the drilled holes. Make sure they are secure and aligned with the markings you made earlier. Wipe off any excess glue with a damp cloth. Allow the glue to dry completely before moving on to the next step.
7. Attaching the Handrail
Place the handrail over the metal balusters and align it with the markings on the balusters. Use screws to attach the handrail to the balusters. Make sure to countersink the screws to create a clean finish. If desired, you can fill the screw holes with wood putty and sand them smooth before painting or staining the handrail.
8. Finishing Touches
Once the handrail is securely attached, inspect the entire staircase for any loose screws or balusters. Tighten any loose screws and ensure that all the balusters are properly aligned. If you wish, you can paint or stain the handrail to match your desired aesthetic.
9. Maintenance and Care
To keep your metal balusters looking their best, regularly clean them with a mild detergent and a soft cloth. Avoid using abrasive cleaners or scrub brushes that could scratch the metal surface. Additionally, periodically check for any signs of damage or wear and replace any balusters that are bent or corroded.
10. Enjoy Your Newly Installed Metal Balusters
Congratulations! You have successfully installed metal balusters on your staircase. Now, step back and admire the beautiful transformation you have accomplished. Your stairs will not only look more sophisticated but also add value to your home.

