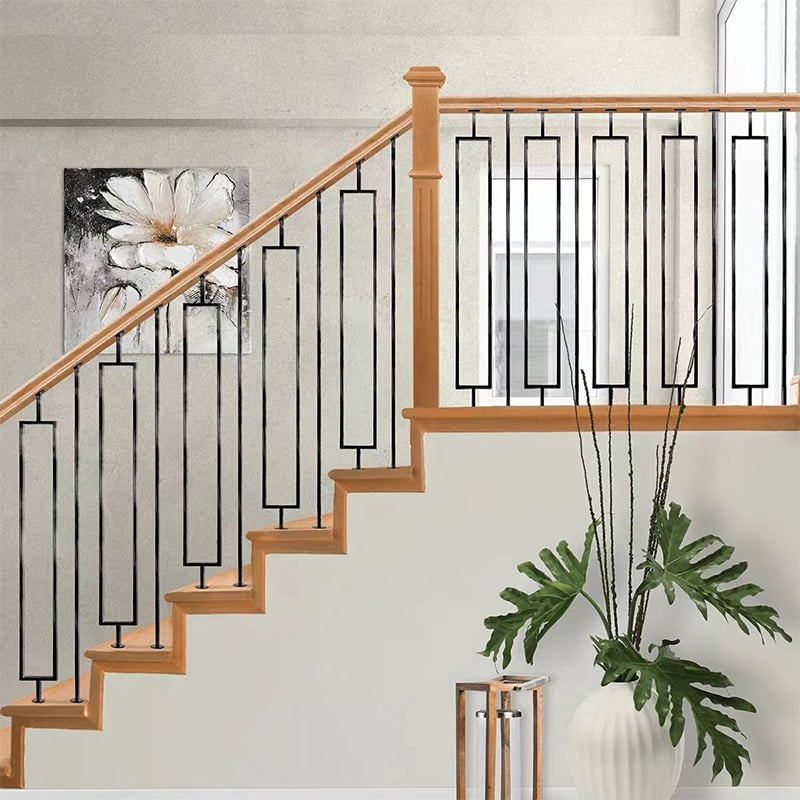
How to install iron balusters with shoes: A Comprehensive Guide
Iron balusters add a touch of elegance and sophistication to any staircase. If you're looking to upgrade your staircase with iron balusters, you may be wondering how to install them with shoes. In this comprehensive guide, we will walk you through the step-by-step process of installing iron balusters with shoes, ensuring a beautiful and sturdy staircase that will impress your guests for years to come.
1. Understanding Iron Balusters
Before diving into the installation process, let's take a moment to understand what iron balusters are. Iron balusters, also known as iron spindles or iron pickets, are decorative elements used to support handrails on staircases. They come in various designs and styles, allowing you to choose the perfect one to match your home's aesthetic.
2. Tools and Materials Required
Before starting the installation, gather the necessary tools and materials:
- Iron balusters
- Baluster shoes
- Handrail
- Drill
- Drill bits
- Measuring tape
- Pencil
- Level
- Hacksaw or reciprocating saw
- Wood glue
- Screws
- Screwdriver
- Paint or finish (optional)
3. Removing Existing Balusters
Start by removing the existing balusters. Use a reciprocating saw or hacksaw to cut through the balusters. Take care not to damage the surrounding area. Once the balusters are cut, remove them from the handrail and the base.
4. Measuring and Marking
Measure the distance between the handrail and the base. This measurement will determine the length of your iron balusters. Mark the measurement on each baluster using a pencil.
5. Preparing the Baluster Shoes
Attach the baluster shoes to the bottom end of each baluster. Apply a small amount of wood glue to the inside of the shoe and slide it onto the baluster. Ensure that the shoe is securely attached.
6. Drilling Pilot Holes
Using a drill and an appropriate drill bit, drill pilot holes into the handrail and the base where the balusters will be installed. Make sure the holes are slightly smaller than the diameter of the balusters.
7. Installing the Balusters
Insert the top end of each baluster into the pilot hole on the handrail. Apply wood glue to the hole before inserting the baluster to ensure a secure fit. Repeat the process for all the balusters.
8. Checking for Levelness
Use a level to ensure that the balusters are straight and level. Make any necessary adjustments before the glue dries.
9. Securing the Balusters
Once the glue has dried, secure the balusters by driving screws through the pilot holes into the handrail and the base. Use a screwdriver to tighten the screws, ensuring a strong and sturdy installation.
10. Finishing Touches
If desired, you can paint or finish the balusters to match your staircase and personal style. This step adds the final touches to your newly installed iron balusters with shoes.
Conclusion
Installing iron balusters with shoes may seem like a daunting task, but with the right tools and a step-by-step guide, it can be a rewarding DIY project. By following these instructions, you'll be able to transform your staircase into a stunning focal point in your home. Enjoy the beauty and durability of your newly installed iron balusters with shoes.

