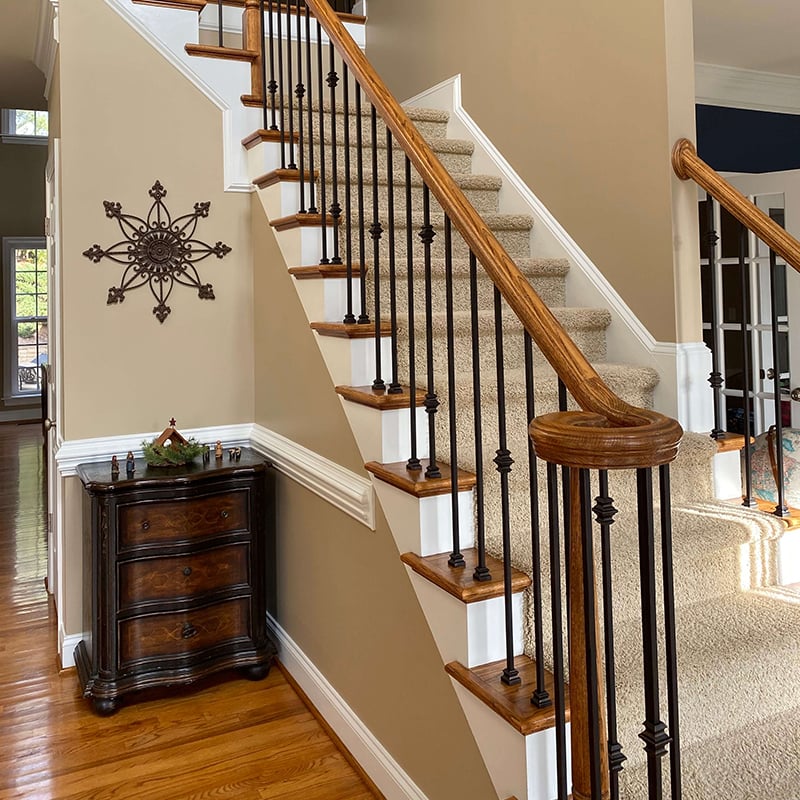
How to Install Iron Balusters: A Step-by-Step Guide
Introduction: Installing iron balusters can add elegance and sophistication to any staircase or railing. Whether you're looking to update the look of your home or enhance its value, this guide will walk you through the process of installing iron balusters. With the right tools and a little know-how, you can transform your staircase into a stunning focal point. Read on to learn how to install iron balusters.
1. Understanding Iron Balusters
Before you begin the installation process, it's important to understand what iron balusters are and how they differ from other types of balusters. Iron balusters are vertical posts that provide support and decoration to staircases and railings. They are made of durable iron and often feature intricate designs or patterns that add visual interest to the space.
2. Gathering the Necessary Tools and Materials
Before you start installing iron balusters, make sure you have all the necessary tools and materials. You will need a baluster installation kit, which typically includes a baluster spacing tool, baluster shoes, epoxy adhesive, and screws. Additionally, you'll need a drill, screwdriver, measuring tape, level, and a hacksaw or baluster cutters to trim the balusters to the desired length.
3. Removing Old Balusters
If you have existing balusters that need to be replaced, you'll first need to remove them. Start by carefully prying off the decorative cap on the top of each baluster. Then, use a saw or reciprocating saw to cut through the baluster in the middle. Finally, remove any remaining pieces and clean the area to prepare for the installation of the new iron balusters.
4. Preparing the Staircase
Before installing the iron balusters, it's important to prepare the staircase. Start by measuring the distance between the newel posts to determine the spacing for the balusters. Use the baluster spacing tool included in the installation kit to ensure consistent spacing between each baluster. Mark the desired locations for the balusters on the handrail and treads.
5. Installing the Baluster Shoes
The baluster shoes are the decorative pieces that attach the balusters to the treads and handrail. To install the baluster shoes, first, apply epoxy adhesive to the bottom of each shoe. Then, place the shoe over the marked location on the tread and press it firmly to secure it in place. Repeat this process for each baluster shoe.
6. Attaching the Iron Balusters
Once the baluster shoes are in place, it's time to attach the iron balusters. Apply epoxy adhesive to the top of each baluster and insert it into the baluster shoe. Make sure the baluster is straight and aligned with the marks on the handrail and treads. Hold the baluster in place for a few seconds to allow the adhesive to set.
7. Securing the Balusters
To ensure the balusters are securely attached, use screws to fasten them to the baluster shoes. Drill pilot holes into the baluster shoes and then screw them into place. This will provide additional stability and prevent the balusters from shifting or coming loose over time.
8. Trimming the Balusters
If the iron balusters are too long for your staircase, you may need to trim them to the desired length. Use a hacksaw or baluster cutters to carefully cut the balusters. Be sure to wear protective gloves and eyewear while cutting to prevent injury. Once the balusters are trimmed, insert them into the baluster shoes and secure them as described in the previous steps.
9. Finishing Touches
After all the iron balusters are installed, take a step back and admire your work. Make any necessary adjustments to ensure all the balusters are straight and aligned. Once you're satisfied with the placement, replace the decorative caps on top of each baluster to complete the look.
10. Maintenance and Care
To keep your iron balusters looking their best, it's important to perform regular maintenance. Clean them regularly with a soft cloth or sponge and mild detergent to remove dust and dirt. Avoid using abrasive cleaners or harsh chemicals, as they can damage the finish. Additionally, check the balusters periodically for any signs of damage or loose screws and make any necessary repairs.

