Categories

How to Install Metal Balusters on Stairs: A Step-by-Step Guide
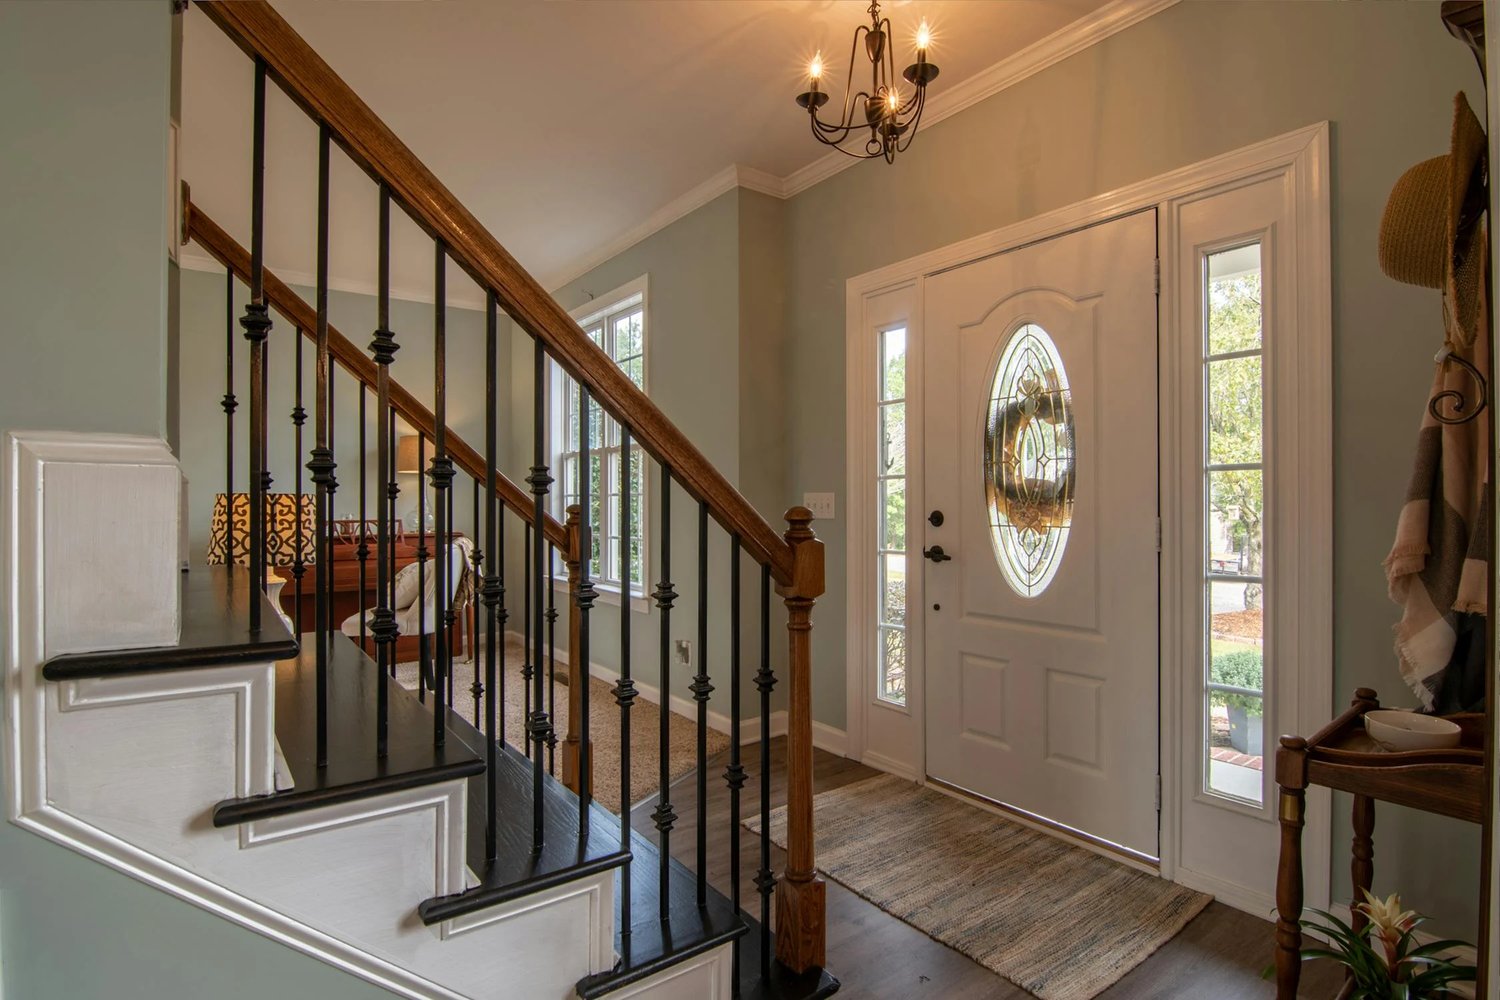
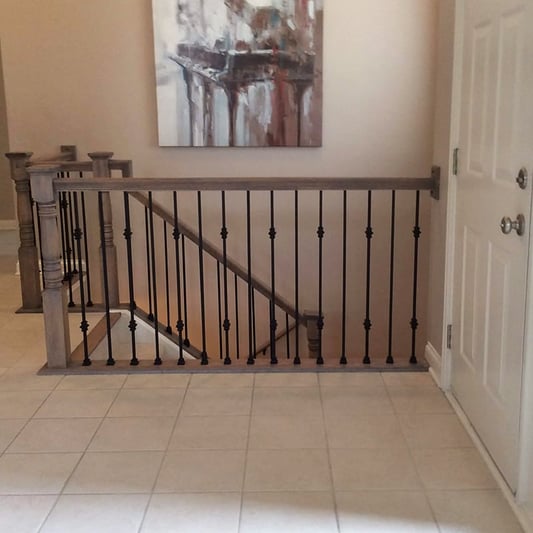
The Ultimate Guide on How to install metal balusters on stairsAre you looking to add an elegant touch to your staircase? Metal balusters can be a stunning addition that will transform the look of your stairs. In this comprehensive guide, we will walk you through the step-by-step process of installing metal balusters on stairs. Whether you are a seasoned DIY enthusiast or a beginner, this article will provide you with all the information you need to successfully complete this project.1. Materials and Tools You Will NeedBefore you begin the installation process, it is important to gather all the necessary materials and tools. Here is a list of items you will need:Metal balustersHandrailDrillDrill bitsMeasuring tapePencilLevelHacksawWood glueScrewsScrewdriverPaint or stain (optional)Make sure you have all these items on hand before you start the installation process.2. Planning and MeasuringBefore installing metal balusters, it is crucial to plan and measure the layout of your staircase. Start by determining the number of balusters you will need. As a general rule, you should aim for one baluster every 4 inches. Measure the total length of your handrail and divide it by 4 to calculate the number of balusters required.Next, mark the positions for the balusters on the handrail and the stairs using a pencil. Ensure that the markings are evenly spaced and aligned. Use a level to make sure the markings are straight.3. Removing Existing Balusters (If Applicable)If you already have balusters on your staircase, you will need to remove them before installing the metal ones. Use a screwdriver to remove any screws holding the balusters in place. Once the screws are removed, gently pull out the balusters from the handrail and the stairs.4. Cutting the Metal BalustersMeasure the height of your handrail and subtract the thickness of the floor covering to determine the ideal length for your metal balusters. Use a hacksaw to cut the balusters to the desired length. Make sure to wear protective gloves and goggles while cutting the metal.5. Preparing the Baluster HolesUsing a drill and the appropriate drill bit, create holes in the handrail and the stairs for the balusters. The size of the drill bit should match the diameter of the balusters. It is recommended to drill pilot holes first to prevent splitting the wood.6. Installing the BalustersApply wood glue to the bottom of each baluster and insert them into the drilled holes. Make sure they are secure and aligned with the markings you made earlier. Wipe off any excess glue with a damp cloth. Allow the glue to dry completely before moving on to the next step.7. Attaching the HandrailPlace the handrail over the metal balusters and align it with the markings on the balusters. Use screws to attach the handrail to the balusters. Make sure to countersink the screws to create a clean finish. If desired, you can fill the screw holes with wood putty and sand them smooth before painting or staining the handrail.8. Finishing TouchesOnce the handrail is securely attached, inspect the entire staircase for any loose screws or balusters. Tighten any loose screws and ensure that all the balusters are properly aligned. If you wish, you can paint or stain the handrail to match your desired aesthetic.9. Maintenance and CareTo keep your metal balusters looking their best, regularly clean them with a mild detergent and a soft cloth. Avoid using abrasive cleaners or scrub brushes that could scratch the metal surface. Additionally, periodically check for any signs of damage or wear and replace any balusters that are bent or corroded.10. Enjoy Your Newly Installed Metal BalustersCongratulations! You have successfully installed metal balusters on your staircase. Now, step back and admire the beautiful transformation you have accomplished. Your stairs will not only look more sophisticated but also add value to your home.Contact us!
READ MORE
How to Install Iron Balusters: A Step-by-Step Guide
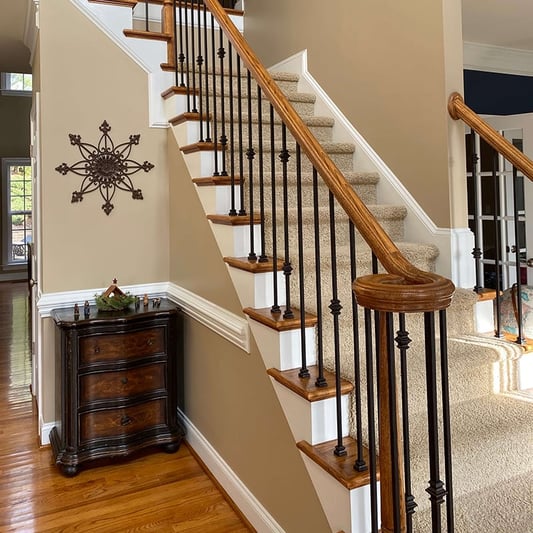
How to Install Iron Balusters: A Step-by-Step GuideIntroduction: Installing iron balusters can add elegance and sophistication to any staircase or railing. Whether you're looking to update the look of your home or enhance its value, this guide will walk you through the process of installing iron balusters. With the right tools and a little know-how, you can transform your staircase into a stunning focal point. Read on to learn how to install iron balusters.1. Understanding Iron BalustersBefore you begin the installation process, it's important to understand what iron balusters are and how they differ from other types of balusters. Iron balusters are vertical posts that provide support and decoration to staircases and railings. They are made of durable iron and often feature intricate designs or patterns that add visual interest to the space.2. Gathering the Necessary Tools and MaterialsBefore you start installing iron balusters, make sure you have all the necessary tools and materials. You will need a baluster installation kit, which typically includes a baluster spacing tool, baluster shoes, epoxy adhesive, and screws. Additionally, you'll need a drill, screwdriver, measuring tape, level, and a hacksaw or baluster cutters to trim the balusters to the desired length.3. Removing Old BalustersIf you have existing balusters that need to be replaced, you'll first need to remove them. Start by carefully prying off the decorative cap on the top of each baluster. Then, use a saw or reciprocating saw to cut through the baluster in the middle. Finally, remove any remaining pieces and clean the area to prepare for the installation of the new iron balusters.4. Preparing the StaircaseBefore installing the iron balusters, it's important to prepare the staircase. Start by measuring the distance between the newel posts to determine the spacing for the balusters. Use the baluster spacing tool included in the installation kit to ensure consistent spacing between each baluster. Mark the desired locations for the balusters on the handrail and treads.5. Installing the Baluster ShoesThe baluster shoes are the decorative pieces that attach the balusters to the treads and handrail. To install the baluster shoes, first, apply epoxy adhesive to the bottom of each shoe. Then, place the shoe over the marked location on the tread and press it firmly to secure it in place. Repeat this process for each baluster shoe.6. Attaching the Iron BalustersOnce the baluster shoes are in place, it's time to attach the iron balusters. Apply epoxy adhesive to the top of each baluster and insert it into the baluster shoe. Make sure the baluster is straight and aligned with the marks on the handrail and treads. Hold the baluster in place for a few seconds to allow the adhesive to set.7. Securing the BalustersTo ensure the balusters are securely attached, use screws to fasten them to the baluster shoes. Drill pilot holes into the baluster shoes and then screw them into place. This will provide additional stability and prevent the balusters from shifting or coming loose over time.8. Trimming the BalustersIf the iron balusters are too long for your staircase, you may need to trim them to the desired length. Use a hacksaw or baluster cutters to carefully cut the balusters. Be sure to wear protective gloves and eyewear while cutting to prevent injury. Once the balusters are trimmed, insert them into the baluster shoes and secure them as described in the previous steps.9. Finishing TouchesAfter all the iron balusters are installed, take a step back and admire your work. Make any necessary adjustments to ensure all the balusters are straight and aligned. Once you're satisfied with the placement, replace the decorative caps on top of each baluster to complete the look.10. Maintenance and CareTo keep your iron balusters looking their best, it's important to perform regular maintenance. Clean them regularly with a soft cloth or sponge and mild detergent to remove dust and dirt. Avoid using abrasive cleaners or harsh chemicals, as they can damage the finish. Additionally, check the balusters periodically for any signs of damage or loose screws and make any necessary repairs.Contact us!
READ MORE
What are the components of a stair
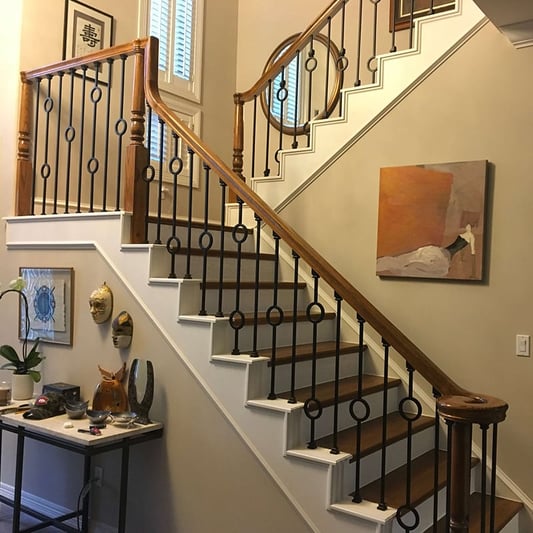
What are the components of a stairStairs are an essential part of any building, providing a means of vertical transportation between different levels. While we often take stairs for granted, they are actually composed of several key components that work together to create a safe and functional structure. In this article, we will explore the various components of a stair and their importance in ensuring a well-designed and secure staircase.1. TreadsThe treads are the horizontal surfaces that we step on when using stairs. They are usually made of materials such as wood, concrete, or metal, and their primary function is to provide a stable and comfortable surface for walking. Treads should be wide enough to accommodate the average foot size and have a non-slip surface to prevent accidents. Additionally, they should be uniform in size and height to ensure a smooth and consistent climbing experience.2. RisersRisers are the vertical components that separate one tread from the next. They play a crucial role in determining the height of each step and can greatly impact the overall comfort and safety of the staircase. Risers should be of consistent height throughout the staircase to avoid tripping hazards and provide a predictable climbing experience. In residential buildings, risers are often open, meaning there is no solid material between each step, while commercial buildings usually have closed risers for added safety.3. StringersStringers are the structural supports that run along the sides of a staircase, providing stability and strength. They are usually made of wood or metal and are responsible for transferring the weight of the stairs and the people using them to the underlying structure of the building. Stringers can be either housed (enclosed within the thickness of the wall) or cut (visible from the side), depending on the design and aesthetic preferences. Properly designed and constructed stringers are vital for the overall integrity and safety of the staircase.4. BalustersBalusters, also known as spindles, are the vertical posts that support the handrail of a staircase. They are typically made of wood, metal, or glass and serve both functional and aesthetic purposes. Balusters prevent people from falling off the side of the staircase and add visual interest to the overall design. Building codes often specify the maximum spacing between balusters to ensure the safety of users, particularly young children.5. HandrailsHandrails are the horizontal or sloping rails that provide support and stability when ascending or descending stairs. They are usually located on one or both sides of the staircase and should be of a comfortable height and shape to accommodate users of different ages and abilities. Handrails are essential for people with mobility issues, as they offer a secure grip and help maintain balance. In addition to their functional role, handrails also contribute to the overall aesthetics of the staircase.6. Newel PostsNewel posts are the large, sturdy posts that anchor the handrail at the top and bottom of a staircase, as well as at intermediate landings. They provide structural support and stability to the handrail, ensuring it remains firmly in place. Newel posts are often ornamental and can feature decorative elements such as finials or carved patterns. They are an important visual component of the stair and can help define the overall style and character of the staircase.7. NosingNosing refers to the protruding edge of a tread that extends beyond the face of the riser. It serves both functional and safety purposes, providing additional space for the foot to land and preventing tripping hazards. Nosing can be straight or curved, depending on the design and preference. Building codes often specify the maximum allowable projection of nosing to ensure user safety.8. LandingsLandings are horizontal platforms that provide a resting point between flights of stairs or at the top and bottom of a staircase. They play a crucial role in breaking up long staircases, providing a safe area for users to rest, change direction, or access different levels of a building. Landings should be wide enough to accommodate the expected flow of traffic and allow for easy maneuverability. They are also important for emergency egress, as they provide spaces for people to gather or exit in case of evacuation.9. Railing SystemsRailing systems include all the components that make up the handrail and balustrade. They are essential for user safety, preventing falls and providing support along the entire length of the staircase. Railing systems can vary greatly in design, material, and complexity, ranging from simple handrails to intricate wrought iron balustrades. They should meet building codes and regulations to ensure compliance and user protection.10. Finishes and Decorative ElementsFinishes and decorative elements are the final touches that enhance the aesthetic appeal of a staircase. They can include materials such as paint, stain, or varnish to protect and beautify the surfaces of the components. Additionally, decorative elements like ornamental carvings, moldings, or lighting fixtures can add a unique and personalized touch to the overall design. While not essential for the functionality of a staircase, these finishes and elements contribute to the overall ambiance and style of the space.Contact us!
READ MORE